First of all, I have about six large embroidery floss organizers in which I keep my ribbon and small embellishments organized. The ribbon takes up three of the boxes and I keep each length on its on cardboard spool. I sort the ribbon by color - one box houses reds, pinks, yellows, and oranges. A second box is blues, greens, and purples and the third box is all my neutrals and metallics.
I also sort buttons and brads into color families as you can see from the small sample shown in the picture. Sorting these embellishments by color makes finding what I need, when I need it really fast and easy.
There are also brads, buttons, and ribbon embellishments that I keep in their original package until they are down to one or two. I have quite a few chipboard sticker-backed embellishments that I classify as buttons because of their button-like appearance, such as these from My Mind's Eye. Maggie Holmes has released two or three collections now with bow embellishments made from ribbon. And brads can take all forms from simple little painted accents to these cute fabric covered numbers by Cosmo Cricket.
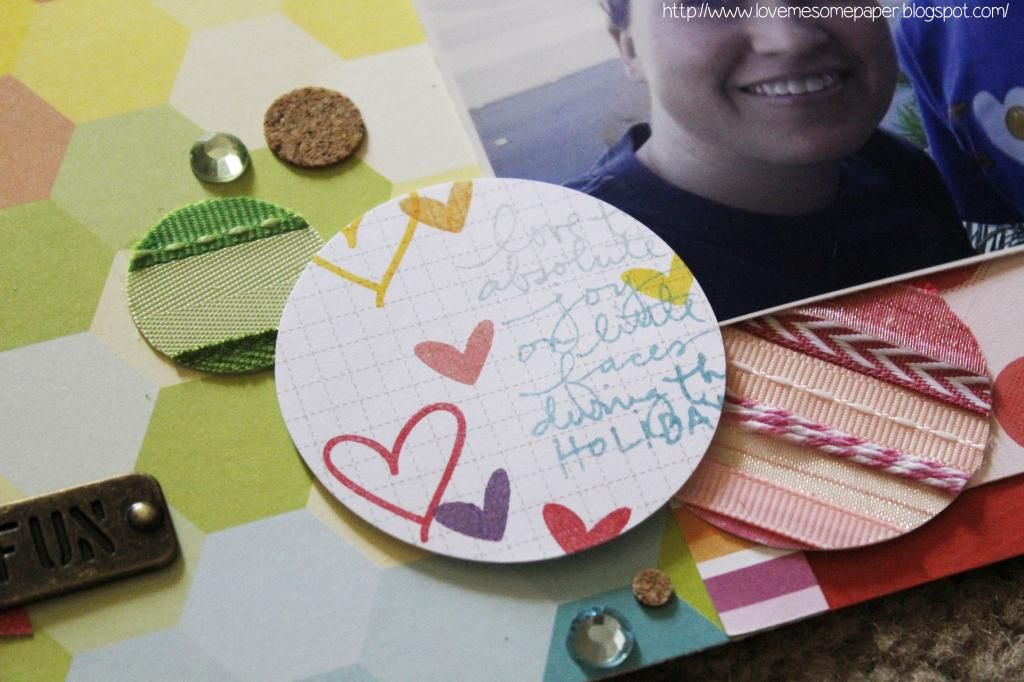
For the layout I'm sharing today, I decided to really challenge myself and stick to ONLY brads, buttons, and ribbon as my embellishments. I started out by putting down several strips of paper and topped those with my title and my matted photos.
Next, came the fun part: choosing amongst my embellishments for just the right ones! Here's a sampling of what I pulled out of my stash.
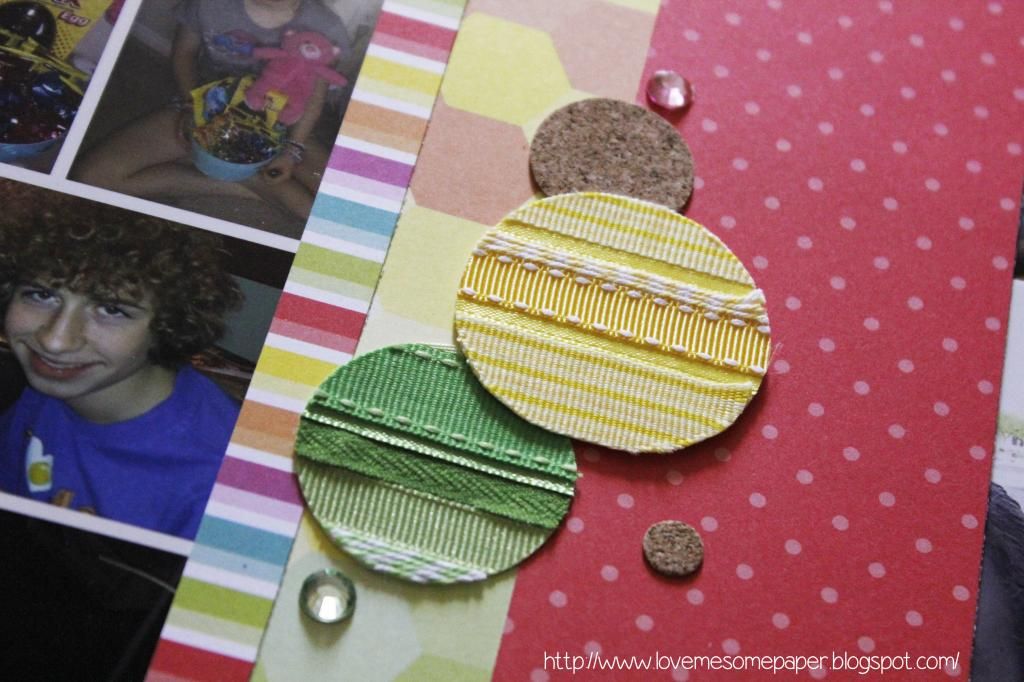
Ultimately, I used my bits and pieces to create both a top and bottom border. I confess, I did pull some twine into the mix to dress up the buttons a bit!
And just for a little variety, here is how I would use the same kinds of embelishments to create this cute little accent tag which could be later added to a card or a layout....
Thanks so much for stopping by today! And I hope you are inspired to use up those little embellishments we all have floating about!
.jpg)
Deedee Horton
Creative Team Member of SCRAP YOUR SCRAPS
Deedee's post really inspired me to pull out my buttons. I don't have a huge collection, and most of mine are pretty simple, but I do have quite a few of them and I don't use them much. I am really loving the rainbow trend and I have a thing for clouds, so I decided to make a card with a rainbow theme. I started pulling out patterned paper to make my rainbow, but I remembered Deedee's challenge to herself and put it all back, grabbing my rarely used ribbon instead.
I didn't take photos of the process because I was sneaking in a few minutes of crafting while my children miraculously slept at the same time! Instead I'll explain what I did and show you the finished card:
I used a scrap of pale blue cardstock as a card front and small pieces of redline tape to adhere the top of each of the ribbon strips down. Then I pulled them (mostly) straight and added another strip to the bottom. This means that the middles aren't adhered which adds a bit of movement and dimension to the card. Lastly I chose buttons to match and stuck them on with glue dots. A bit of Glossy Accents squirted underneath assures they won't be going anywhere. Two cloud diecuts, a bit of dimensional adhesive and a Lawn Fawn stamp finished off this super easy card. I put it on a white card base to help the colors pop.
I am definitely going to challenge myself to get more buttons and some of my decorative brads o to a layout soon too! Thanks, Deedee for such great inspiration!
Tiffany O'Grady
Creative Team Member of SCRAP YOUR SCRAPS


