
So lets discuss some of my favorite ways to add interest to die cuts:
- Inking
- Stamping
- Distressing
- Embossing
- Layer additional items
I almost always ink things on my layouts. Everything from the papers and photos, to the stickers and die cuts. So you will see this very often in the examples below.
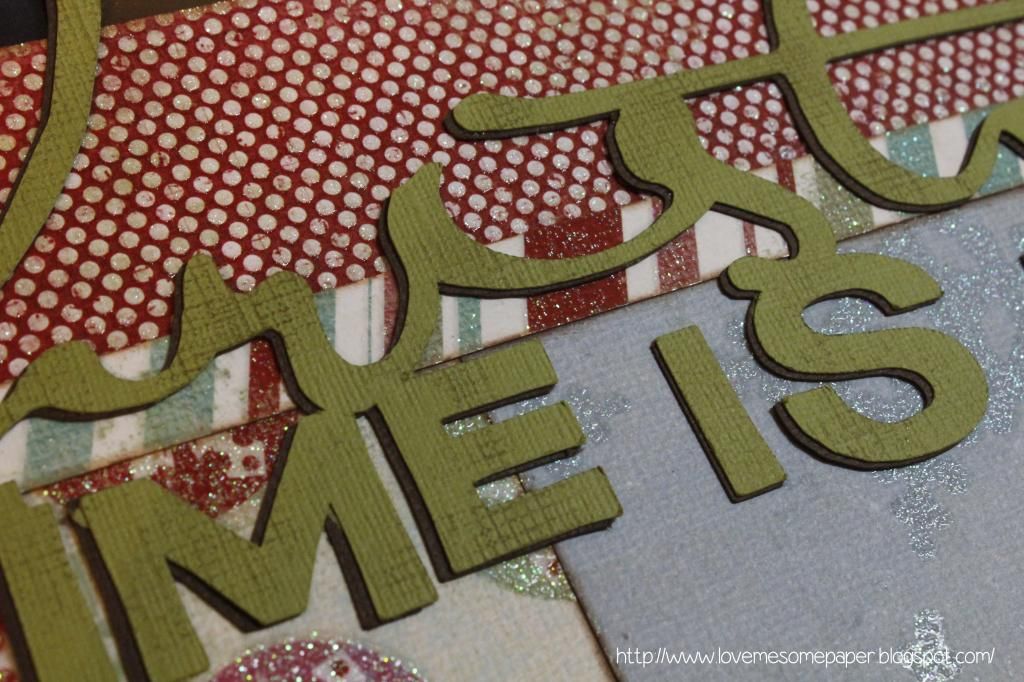
I love adding titles cut from cardstock or pattern papers to my pages, but I often find that they seem to be little "flat"compared to the page as a whole. Thanks to amazing scrappers online and in classes, I have learned so many things that help titles pop off the page and look cohesive with all the other elements I have used.
Here I have used double layers of the actual cut, inked the edges and stamped over the title:
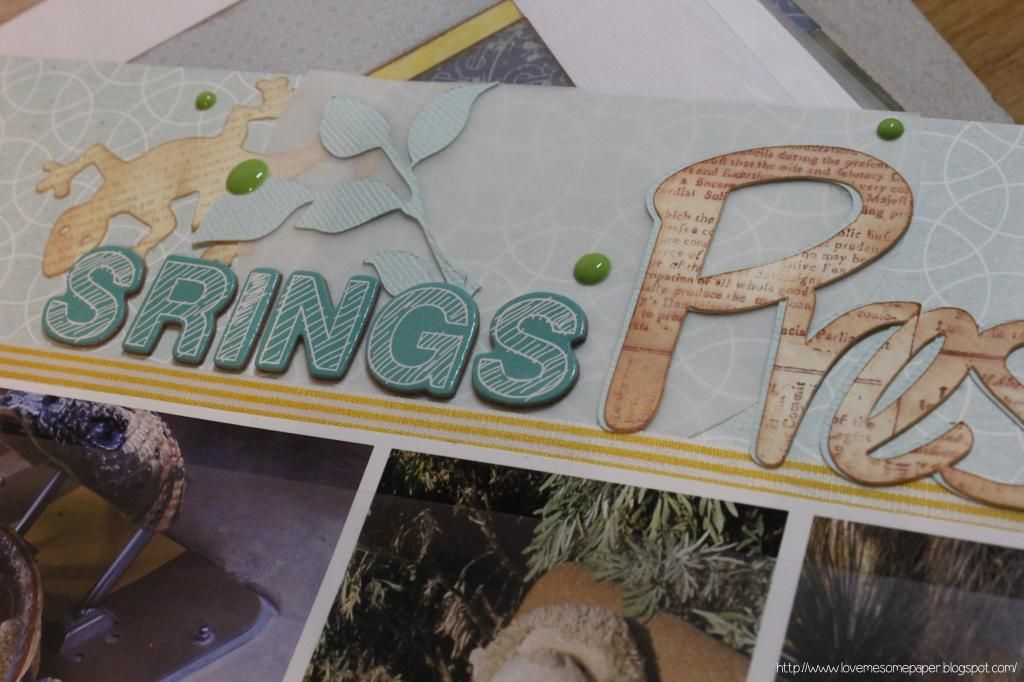
Double layers, text stamping, ink on the edges (lizard is also inked and stamped).
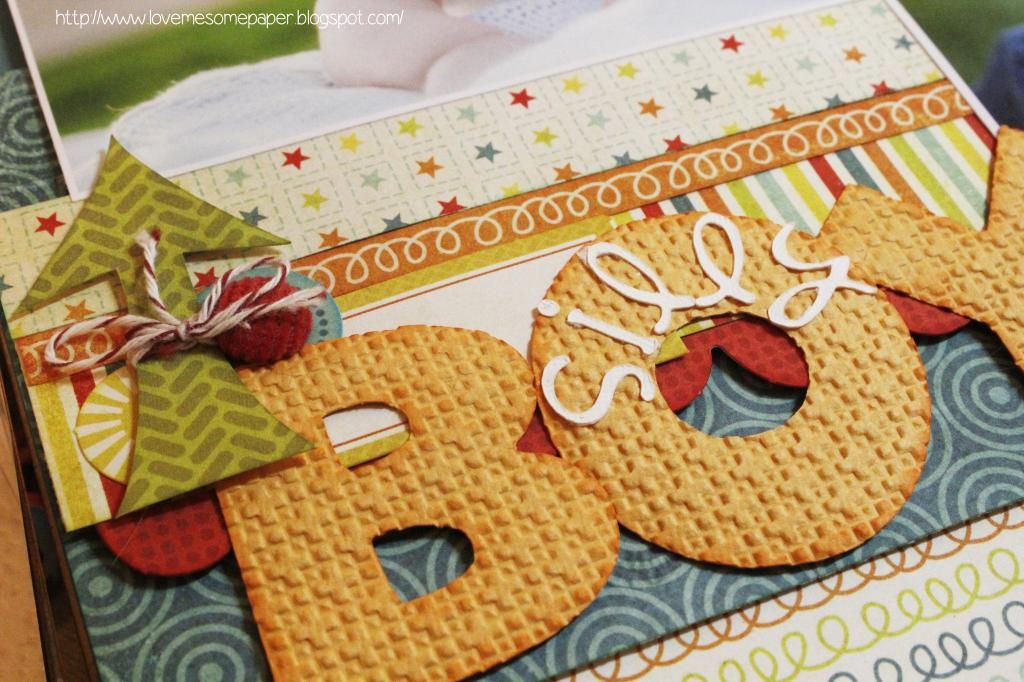
Here I ran the letters through my Big Shot with an embossing folder for some texture and inked with orange ink for a subtle tone on tone effect. I also layered the smaller phrase on the actual title. (Additional idea - wrap twine around die cuts, like this arrow)
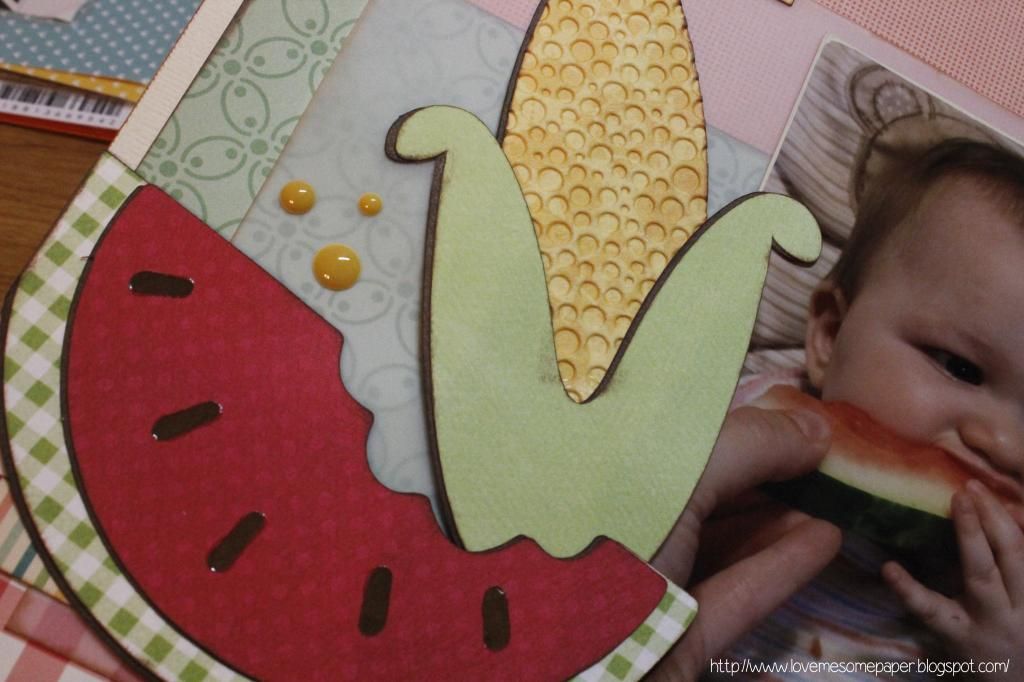
Here is another example of using an embossing folder on die cuts. (Additional idea - add Glossy Accents to elements for detail, see watermelon)
I love how text can be both informative and add interest. Below is computer printed journaling with stamped phrases.

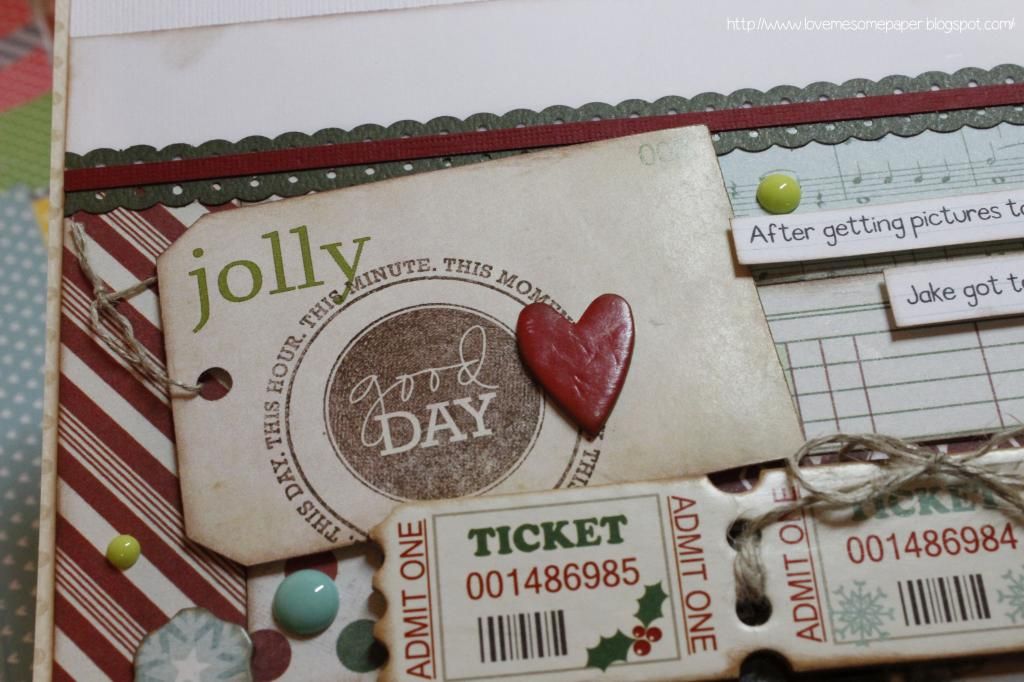
Stamping is a fun and easy way to add information, color and interest to die cut shapes. Here I also added some hemp twine and a small chipboard heart for additional layers to a pre-made tag.
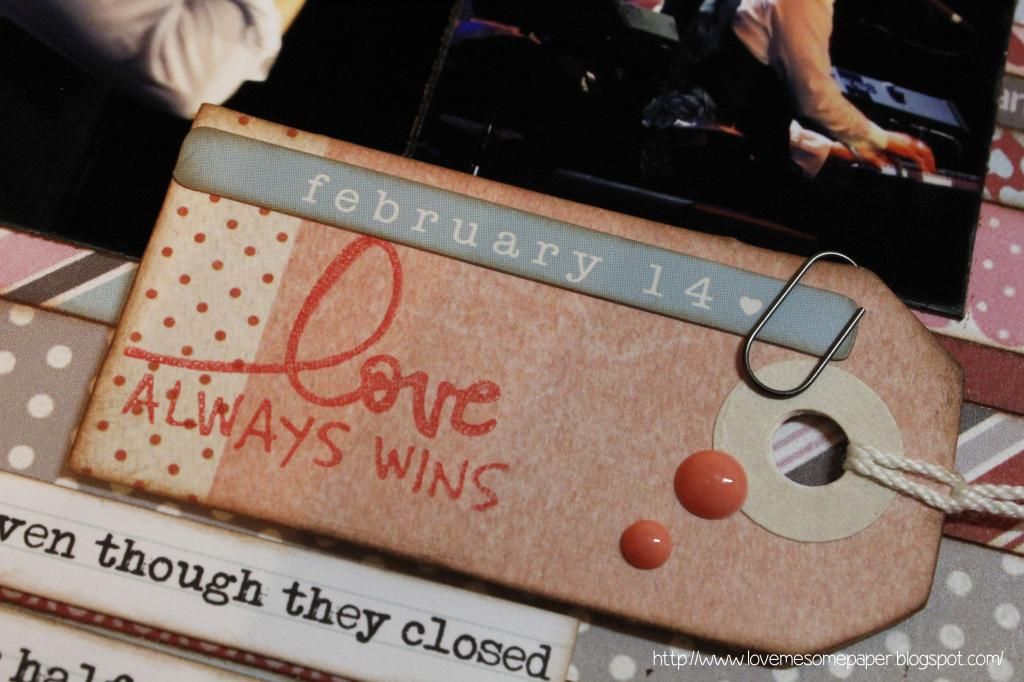
Here is an example of adding different details to help support your page. I inked the edges, stamped a phrase, added a sticker and some enamel dots. Just like you would ink and embellish your page(s), applying some of those same ideas to smaller elements on your projects can help add interest and bring everything together for a cohesive look.
I hope these ideas inspire you to take another look at your die cuts and how they can add more interest to your projects and become more personal for YOU.

Nicole Bingaman
Contributor for Scrap Your Scraps
Thanks for the inspiration Nicole.
ReplyDeletewow Nicole what a great tips.... love them all.. thanks for sharing.
ReplyDeleteI love these ideas. I agree with you about sometimes die cuts or titles looking "flat." I often use ink around the edges, but I love your other ideas as well. Thanks so much for the inspiration! I'm going to try some of these new variations.
ReplyDeleteNicole, I love your ideas today. Thanks for being such a great part of the team on this blog.
ReplyDeleteGreat ideas and inspiration! Warm hugs from Puerto Rico !
ReplyDeleteVery pretty. I like all the inking with the embossing. Gives it more depth.
ReplyDeleteGreat ideas. I never thought to double cut my titles and layer them.
ReplyDeleteGorgeous, Nicole! This is something I really struggle with. My die cuts always look so blah!
ReplyDeleteI am so lucky that I found this blog! Thanks for the inputs Nicole! By the way, for adhesive products you may click here.
ReplyDelete