Hey everyone, it's Cathy Martin here. Long time no scrap eh? It's 2015 and it's time to wake up from our holiday comas and get back into scrapping! I know some of you haven't stopped, but between working full-time, the holidays, and my sons birthday I get pretty busy this time of year. Now that the hustle and bustle are over it's time for me to get back into the swing of things, and that means scrapping, and lots of it! This month I'm back with another 5 prompts to help jump start some creativity and give you some challenges to think about when starting your pages.
Prompt #1
- Scraplift a favorite scrapper
I personally don't see a thing wrong with scraplifting from another project, and I definitely have my favorite scrappers in this industry, so why not take advantage of it and scraplift one of your favorite scrappers. There is probably a reason they are one of your favorites so this is a great time to go through your Pinterest board, or check out some blogs and get some inspiration. For my inspiration I chose
Jill Sprott. I started watching her videos back on Two Peas in a Bucket and have loved her work ever since, not to mention her down to earth personality.
Prompt #2
- Use at least 10 patterned papers
Yep you read that right, at least 10, more if you want to get really adventurous! The trick with using different patterned papers is to use them in small doses, and don't forget, using patterned vellum can add depth without weighing down a layout! Don't forget, you don't have to use paper from just one collection, but if you are new to this whole thing that would be a good place to start. I prefer to mix and match my papers, using old stash and scraps as well as new papers from my recent kits.
Prompt #3
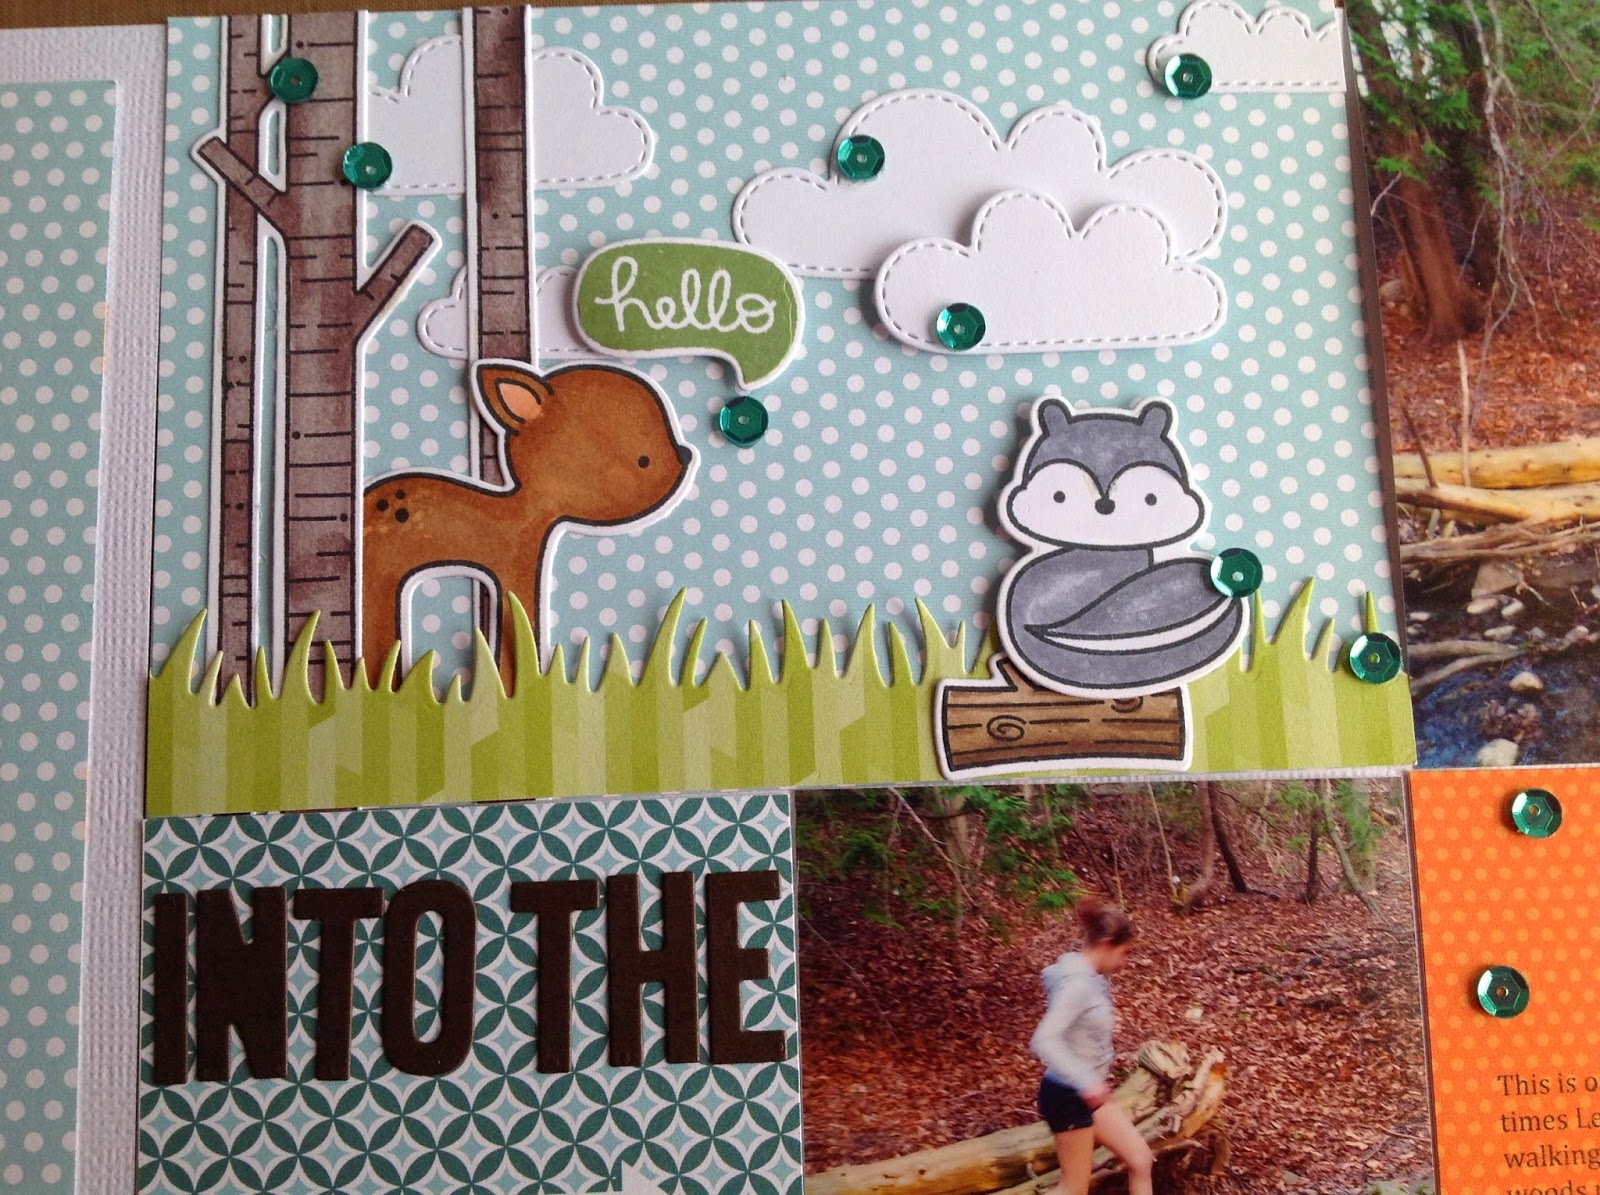
- Tuck it away
Embellishments that is. Why not try tucking your embellishment clusters under your layers. This will create interest and depth to your layout and it can help ground your cluster so it doesn't look like it's just floating around!
Prompt #4
- Scrap a page without a story
I know this is exactly the opposite of what scrapbooking is all about, telling your, or your family's story, but sometimes don't you just have a photo that's cute with pretty much no story behind it? I do a lot of "everyday" scrapbooking so I end up with a lot of these kinds of photos and I just can't help but want to give them their spotlight, so I have decided to scrap everything from events to the little everyday candid moments.
Prompt #5
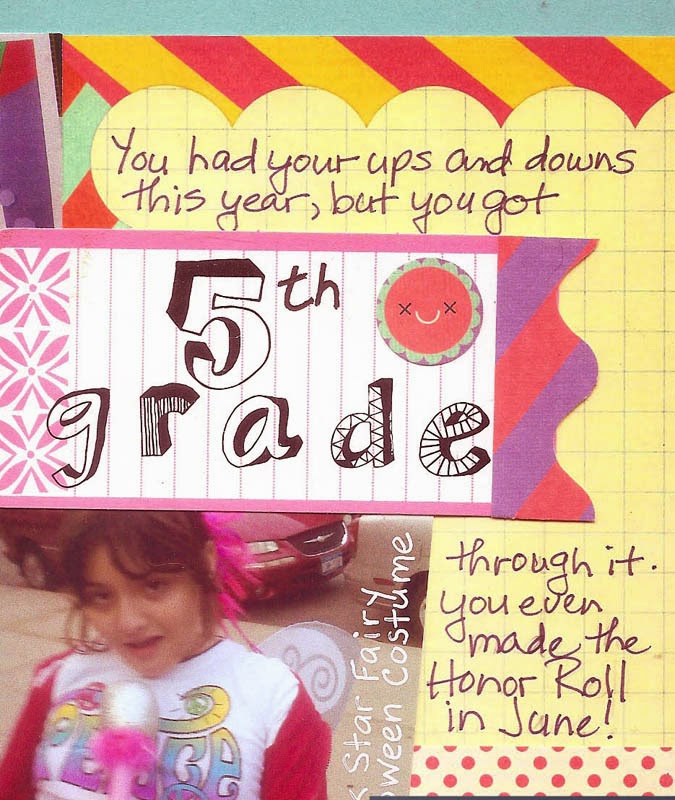
- Use journaling strips
Seems pretty simple I know, but this is a fun alternative to a journaling block, or a tag, etc. I used to do this method a lot back when I would print out my journaling, but now that I hand write most of the time I forget that you can still do it. If you have a typewriter (so jealous btw) this method also works out great!
So get out there and get scrapping, use all 5 prompts together or maybe just take one, but whatever you do have fun and don't forget to love what you're doing! Here is my finished layout using all 5 prompts for January!
Hello Everyone!
I was so inspired by Cat's layout and prompts for this month! I used more than 10 patterned papers, tucked in a couple of embellishments, did my journaling in strips and these photos are ones my husband came across while cleaning out his office over the holidays! These photos are from 11 years ago almost to the day! The only prompt I didn't really use was to scrap lift a favourite scrapper...instead I used a favourite style of layout for me which is a grid layout!
All my products are from Dear Lizzy Day Dreamer and Lucky Charm collections. The gold chip board hearts are from Studio Calico.
Thanks for stopping by and HAPPY SCRAPPIN'!


 I started with a double-page layout about my sweet little great-nieces.