Showing posts with label inspired by. Show all posts

Wednesday, 25 March 2015

Quilts

I love so many different hobbies but always come back to scrapping.  So guess it the next best thing is to try and combine them on a page.  So this month I got inspired to "quilt".... not physically on a page but rather the look and feel.

For my page I found a pad of 6x6 papers that I had never used... yay for using something old out of my stash! I selected a few and cut some rectangles out of them and a few flags for the banners.  Next I played around with the arrangement and once happy, stuck everything down.  Now for the quiliting... I just grabbed a white pen and my stitching template and drew in the remaining block. Finally I added in my photos, some stickers and journalling.

So this was actually a simple page to put together but very effective.  You could also try this with hand or machine sewing as well.

I might even be more inspired next time to try a complex patchwork pattern... let's see where this challenge takes us.
Scrap Your Scraps Design Team Member

Tuesday, 17 March 2015

Creating a Scene Using Stamps and Dies for a Layout

Hello Everyone

Today's project is based on creating a scene for your layout using stamp sets and dies.  Creating a scene is very popular right now with card making.  I love doing that with my cards lately but I also wanted to get more use out of my stamp sets and dies.  So for this layout I used the same stamp sets and dies that a lot of people would use for card making.  I used all Lawn Fawn products for this layout (the papers however are all Stampin' Up!).

A type of dies in particular might seem to be only for card makers because they are at most 6" long are the border dies.  I stretched their use for my layout for the sand and water section as shown here.

I completed my layout with stamping and colouring some elements that went with layout and used them as my embellishments.  I stamped and die cut my title as well.


I encourage you to take your stamp sets and dies and use them on your layouts.  It's just one more way to stretch your tools to get your money's worth.  

Thanks for stopping by and HAPPY SCRAPPIN'!
Scrap Your Scraps Design Team Member

Thursday, 5 March 2015

Shape Up! Using Shaped Photos on Your Layout.

Hey everyone it's Cathy here with another post for Scrap Your Scraps!  This month I'm taking a break from my prompt series to bring you something different that has inspired me this month.  Back when I started scrapbooking I remember seeing lots of layouts using circular photos or shaped photos.  It was somewhat popular, but over the years I saw less and less, and more and more it seemed liked it looked a little to cheesy.  Well recently I've seen a resurgence in cut out photos, and in lots of fun new shapes.  Circles are still there, but now there seems to be a lot more diamond and triangle photos taking a spotlight.  For my layout I was inspired by a project at Stephanie Makes.  I decided to try my hand at using shaped photographs.  For my layout I have to say that the hardest part was picking photos and getting them cropped just right.  After I had them printed it was smooth sailing!


I went with the same simple grid design as my inspired layout since it would be the easiest way to line up all the photos and showcase some pretty papers.  I used some watercolours first to do a light colour wash in the background first.  I laid out my design and played around with my photos and paper until I liked my design.  Although I was using a grid design I didn't really bother with measuring and making sure everything was perfect.  I love the way this turned out and am eager to try some other shaped photos.

Scrap Your Scraps Design Team Member

Sunday, 1 March 2015

String Art

Hi crafty friends, happy March!
I have been seeing string art all around the crafting world and most recently I have seen it make its way in to scrapbooking.  I love the look of string art and wanted to give it a try on a layout.  I finally found the perfect paper to use!  The constellation paper from Crate Paper Kiss Kiss collection was my inspirational background.  I took a picture of one of my little guys sleeping as the focal point.
To create the string art I first used my Silhouette to cut out the word LOVE in large block letters.  I used a paper piercer to create holes along the letters.  First I did a back stitch all around the letters to create the outline.  Now for the fun part!  Using the holes I made for the outline I criss crossed the string on the inside of all the letters.  I love the final result!  I have to be honest...this took forever, but I think that in the end it was worth it. 


Thanks for stopping by!  


Scrap Your Scraps Design Team Member


Hey everyone it's Cathy M here and I just loved Candaces string art post.  String art is really hot right now and I love it.  It's such a simple and fun art project and I can't wait to make a piece for my wall, but in the meantime I made some string art for a layout!  For this layout I used DMC floss since it was cheap and I could use several different colours.  It is a little thicker than normal string but I didn't mind that.  I cut out the LOVE from the brown paper, then I cut 4 background squares and wrapped a different colour string around each.  I made sure I secured the string to the squares.  Then I just used a heap of foam squares to add dimension and keep the large brown paper a little above my squares!  It wasn't very hard to do this and it was pretty easy to execute once I figured out how to do it!


Scrap Your Scraps Design Team Member


I really loved the idea of doing string art for years and so was inspired to try this on a page... found some letters which I traced onto some white cardstock and then stitched round before doing the weave.  It's a great and effective technique.

Scrap Your Scraps Design Team Member

Tuesday, 10 February 2015

Sneak Peak of Scrap Your Scraps Design Team Group Post coming February 16th!

Hello Everyone

Today we are sharing a sneak peak of a group post for February 16th (next Monday).  The idea was to create a layout about someone or something that has influenced us or been a part of our lives since our childhood/teenage years.
We as scrapbookers sometimes don't get to work on our own stories as much as we'd like to (or maybe don't at all).  This was a way to do a page that speaks a little about who we are so that when future generations look through all the beautiful albums we have created will learn a thing or two about the individual who put a lot of love, time and energy into creating those albums!


Thanks for stopping by today and remember to come back on the 16th for the reveal of all these fabulous layouts! Hope this will inspire you to starting thinking about creating your own layouts about yourselves!


Scrap Your Scraps Design Team


Thursday, 5 February 2015

5 Prompts for February 5th 2015!

Hey scrappy friends!  I think it's pretty coincidental that I will be posting my 5 prompts on the 5th of every month, but don't find me, I'm weird like that!  So welcome back to my ongoing series where every month I offer up 5 prompts or ideas to jumpstart your creativity.  Use them all together or take each one as a separate challenge.  For my layout I used all 5 prompts together as usual.  So here are this months prompts!

1. Play with your mists! 
  Whether you paint with them, use a mask, or spray embellishments just have fun with them.  If you don't have mists then you can use watercolours or gelatos to achieve similar looks.

2. Center your design.
The rule of thirds is great and all, but sometimes you just want your picture to take center stage, so this time I put my picture right in the center of my grid, and worked out from there.

3. Bring back the banner.
Hey guys, remember banners?  Remember how popular they were in recent years?  Well I see no reason why trends have to end.  I can't figure out for the life of me why there are even trends in scrapbooking, though I am guilty of following them myself I still like to use old techniques or embellishments, ones that are tried and true.

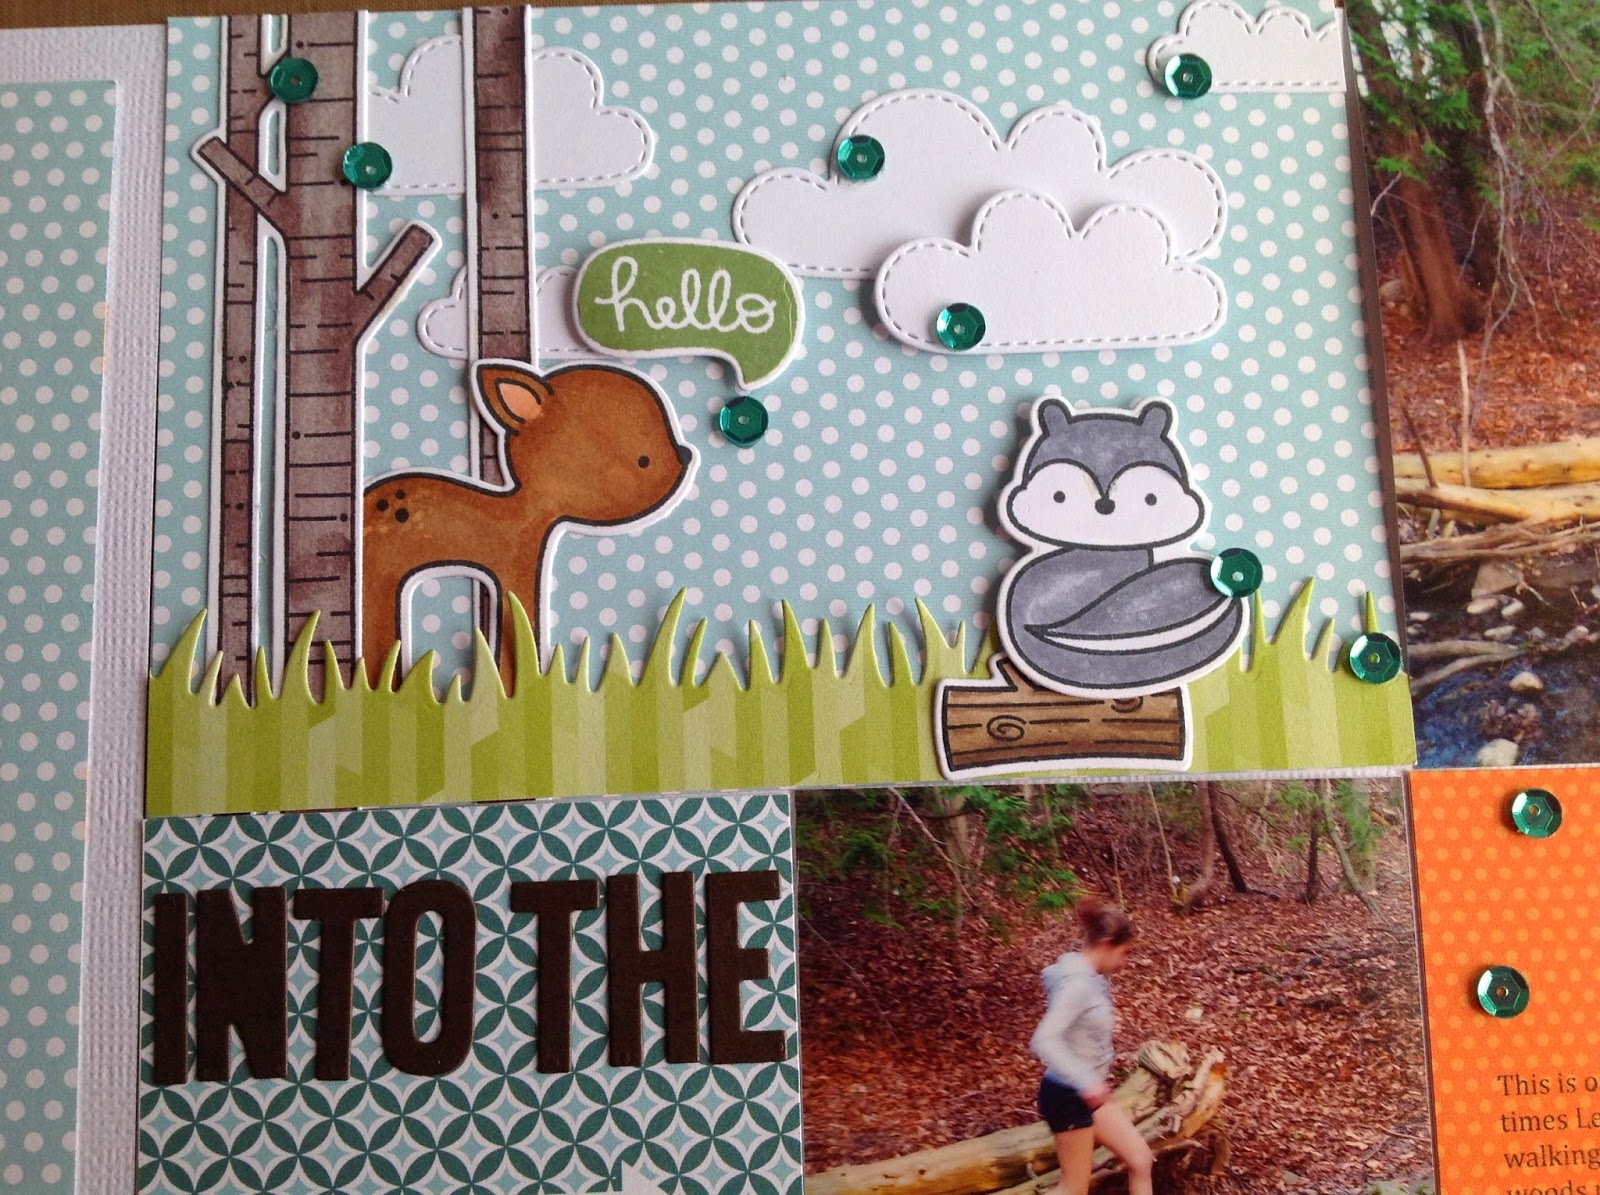
4. Use up your 6x6 paper pads.
I love these little guys.  I love how the patterns are scaled down, so that they will still work great when used in small amounts.  Using up your scraps would work as well, I just happen to have a ton of paper pads and I never end up using them!

5. Use multiple stickers and thickers.

This works best with a title or subtitle that is fairly long.  Use a different font/alpha for each word in your title.  Mixing up the colours works great too! I know there are lots of people out there that have rules about numbers of fonts, but well as they say, rules are meant to be broken!


For my layout I started with a burlap banner that I had purchased at Michaels.  It was umbrellas and I wasn't sure how I would ever use it, but when I came across these photos of my kids at a rainy parade I knew it would be perfect.  I didn't like the neutral colour of the umbrellas so I took out 4 colours of mist and painted my umbrellas.  I also painted my wood veneers with my navy blue mist..  I then layered paper after paper from one of my 6x6 paper pads.  I added some embellishments here and there, keeping a balance and a horizontal line.  I used a mask to draw some cute clouds and then grabbed my thickers and alphabets and began laying out my title.  I love how this turned out in the end, and it was actually pretty quick to make!  Have a great crafty day!


Scrap Your Scraps Design Team Member


Hello Everyone

I love Cathy's 5 prompts this month!... I have been wanting to scrapbook a layout with these two selfies my daughter took and write a little about what she's into right now.  As my daughters are getting older I am finding that my photo opportunities are not as they were when they were younger and pose for 100s of photos (literally) in a shot.  So now some of the layouts I have are of them taking selfies which also speaks as to what stage they are at in life (I hate taking selfies!! LOL ;-0).

So here is my take on the 5 prompts -


Thanks for stopping by and HAPPY SCRAPPIN'!
Scrap Your Scraps Design Team Member

Sunday, 25 January 2015

Using Overlays on Your Scrapbook layouts

I have a challenge of sorts for you.... attaching an overlay to your layout.  Transparencies are even worse than vellum as they are clear and there isn't usually a large area where you can hide your glue. So here are a just two ways that I have used them:

1. 12 x 12 overlay
This gorgeous Christmas overlay was just calling out to be used as a whole, so once I found the perfect photos my page was almost done.. now to figure out how to attach it.  I put my photos underneath the transparency but then used stickers and the tag on the top and placed my glue under those areas.  As there was a line of dots along the top and bottom of the transparency I used these to make holes and do some stitching through the transparency and attached it to the paper underneath... nice and secure.

2. Photo overlay

On this page I used one of those transparency photo overlays on my main photo... the one with the word CRAZY on it.  This overlay is like a pocket and already has double-sided tape on the bottom, so you just slip your photo inside and hey presto it looks fancy.  There are various overlays like this now available with Project Life kits too so they are super easy to use on a layout.


Hope that these ideas prompt you to pull out an overlay or two and use them on your page.


I have a page created recently that I used a transparency as a frame around the picture.


Saturday, 17 January 2015

Double Page Layout Traditional and Pocket Style

Hello Everyone

Today I'm sharing a double page layout I created.  I mixed a traditional 12x12 scrapbook layout with a pocket-style page layout.  For me this was the best solution to getting all the photos I wanted to use.  All my photos are 3x4 including on the traditional layout.  I used papers from one line (Lawn Fawn in this case) to have consistency throughout.  The brown DMC floss that I used on both pages also help with the flow between the two pages.  The third way I showed the flow and consistency between the two different styles was with the critters and dies I used.
If you don't have pocket-style page protectors this type of double page layout is still possible to achieve.  You just need to tape down the pocket style papers/cards/photos onto a 12x12 piece of card stock.
I love both styles of 'scrapbooking' and for me this is the BEST OF BOTH WORLDS! :)


Thanks for stopping by and HAPPY SCRAPPIN'!


Hi everyone, it's Cathy here, and as soon as I saw Mandy's double page layout I knew I wanted to do my own!  Now I don't do pocket scrapbooking myself, so I didn't have any page dividers in order to get lots of photos on a layout, so I approached it a little differently.  I knew I wanted to use some pocket cards on my layout to keep with a bit of the same theme as Mandy so I started and expanded from there.  I managed to get 6 photos on my double page layout so I am pretty happy with that!  For the most part I kept my embellishments and papers from the same line, mixing in a few different items here and there, just as Mandy did.  I don't do many double page layouts, but this time I went with a different perspective on them which I think in the end gave me more freedom.  I treated each layout as it's own, and used similar patterns and shapes to create continuity within the layouts, so that they can be viewed separately or together and still have the same amount of impact.  I even dug DEEP into my thickers stash to find those brown ones that I think I bought in like 2010!


Related Posts Plugin for WordPress, Blogger...